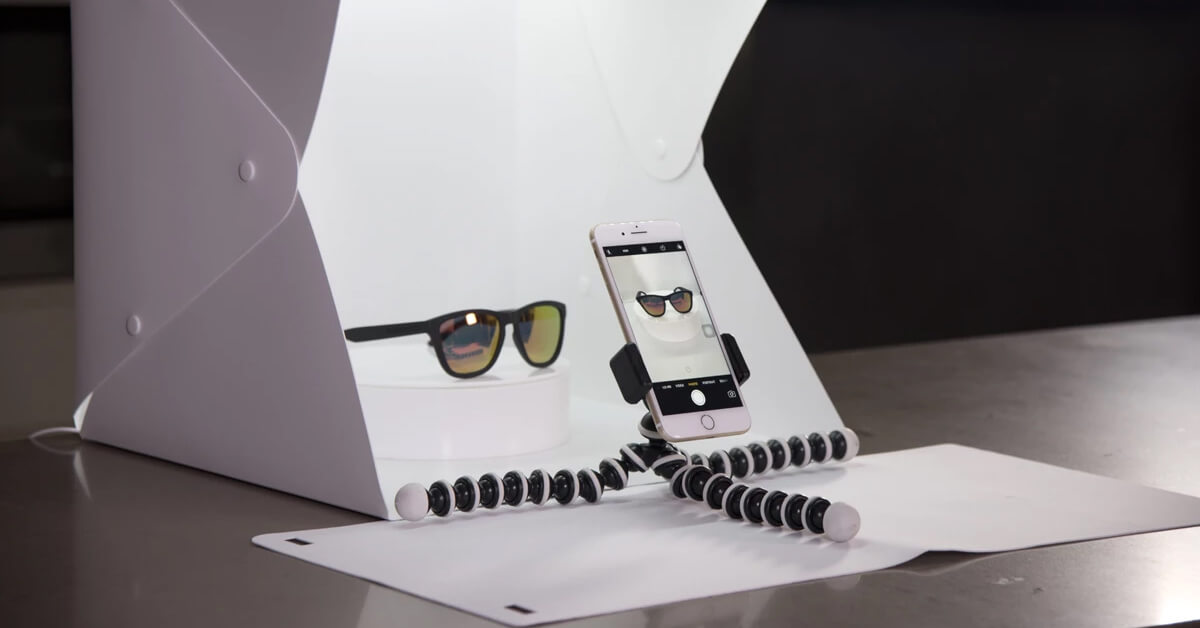
Gone are the days when capturing high-quality photographs was a task performed by experts, using high-end equipment. Today, you don’t have to hire an expert or invest in an expensive DSLR camera for product photography unless the sales start rolling in. You can easily come up with high-quality product photos for your online store using your smartphone and some photo editing mobile apps. Excited to know how to capture incredible shots with a smartphone? If so, do check out this comprehensive professional product photography guide.
Table of Contents
1. Choose The Best Available Camera Phone
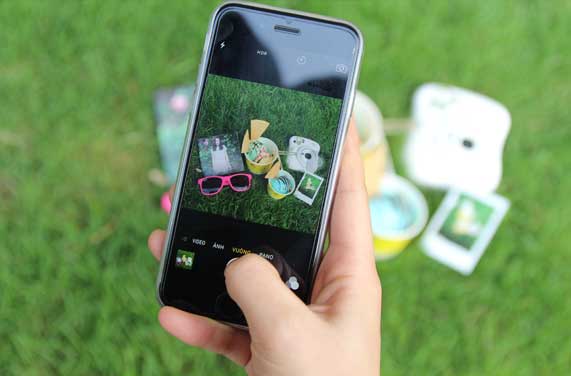
These days, most of the smartphones are equipped with high-end cameras. In fact, if you choose any latest model, it will have more megapixels, a couple of lenses and high-speed image sensors. Besides this, it will also have image stabilization, autofocus, and many other high-end features. Once you are done choosing the smartphone, it’s time to gather some accessories such as a tripod stand, backdrop, table, and other related items. That said, it’s time to move to the next part of this guide that is about choosing the right camera applications.
2. Use Camera Apps To Your Advantage
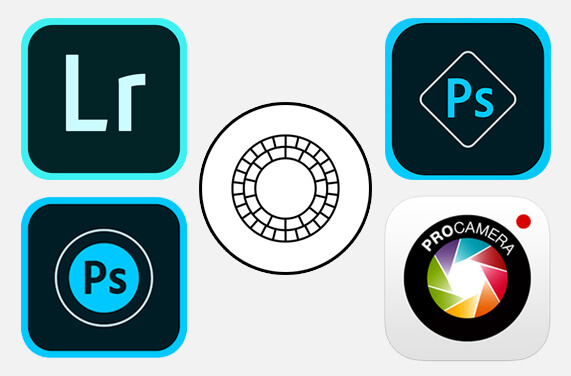
When it comes to choosing the camera apps for product photoshoot, there are hundreds of options available. So, how do you decide? The easiest way to find the best app is by checking out reviews from experts. Doing so will help you understand the ins and outs of an application and how you can use it to click perfect photographs.
There are many third-party apps that even offer controls and features similar to a DSLR camera. For instance, you can click the picture in RAW format apart from the standard JPEG option. Now, let’s look at some top-rated apps for both Android and iOS:
- Lightroom – FREE to use both on iOS and Android
- Adobe Photoshop Express – Available for free for both iPhone and Android phones. Helpful in the post-processing work.
- Photoshop Touch – Available for $5
- ProCamera (Manual & RAW Camera + Portrait) – $7.99 for iOS
- VSCO (Photo & Video Editor) – FREE to use both on iOS and Android
3. Prepare Your Set
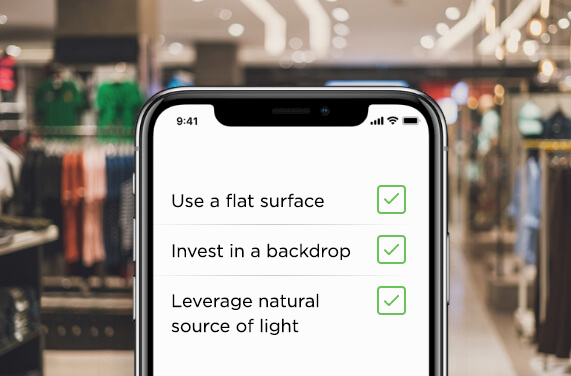
Once you have finalized the camera apps, it’s time to start building a set to capture high-quality images. You can prepare the set by using accessories you’ve collected in the first part of this tutorial.
a) Flat Surface (Table)
You can use any flat surface to click pictures but we suggest that you go with a wide table, one with ample space. This will help in positioning products in a better way and clicking photographs with ease. If you have a small tripod, you can snap pictures from the table itself and get focussed, high-quality and stabilized images.
b) Backdrop
This is one of the crucial elements for product photography. By investing in a plain white background, you can remove unwanted distractions and make your images stand out. However, if you don’t want to invest in a backdrop, you can watch some DIY tutorials on YouTube and create your own in a jiffy. If your products are relatively large in size, it’s suggested to create a ‘white’ sweep to fill the space both behind and underneath the product. Creating a sweep will certainly help you with post-production product photo editing work.
c) Light
Nothing is better than a natural source of light for a product photoshoot. It is available for free and provides unparalleled color balance to photographs whilst reducing unwanted shadows. If you are shooting indoors, then place your setup near a glass door or a plain window for uniform lighting. You can also use a white poster board as a background to reflect the natural light and eliminate harsh shadows. If natural light is not accessible to you, you can use a softbox light kit for larger items to mimic the same effect. However, for smaller items, you can try using a tabletop light tent to diffuse light.
4. Get product placement right

Before you start clicking pictures, remove the price tag and other stickers from the product and make it ready for the shoot. Now, position your product right by placing it in the center of the table. When clicking photographs of products like bangles, hair clips, or earrings, you can hang them against the backdrop by making small holes in it. While if you are clicking photographs of products like clutches, backpacks or fedora hats, you can make them look fuller by stuffing a newspaper.
5. Prepare Your Phone For Shoot
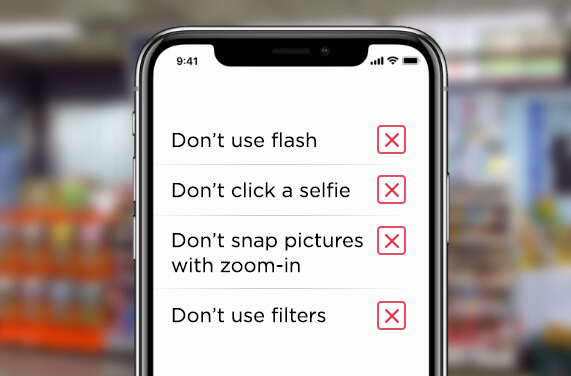
Today, many of us love to spend our leisure time on smartphones and love to carry it with us, even when we are not using it. Owing to this, our mobile phones are exposed to dirt, dust or debris. So before you start clicking pictures, make sure you remove all the accumulated dust particles from your phone’s lens.
Don’t use flash
Flash is ideal for clicking pictures in low light. However, product photography calls for ample amount of light. So, it would be great to get your lighting right and turn off the flash during product photoshoot.
Don’t click a selfie
If you want high-quality pictures, you should consider using the rear camera of your phone. Since it always has more megapixels and a higher resolution than the front camera, you will get pixel-perfect photographs.
Don’t snap pictures with zoom-in
Rather than using the zoom-in feature for a close-up shot, we suggest you bring your smartphone near to the product and then click pictures.
Don’t use filters
It’s suggested not to use filters during the shoot. Instead, you should try to capture the images as raw as possible and keep your product photo editing skills for the post photoshoot work.
6. Be Ready To Capture

Once everything is in place, it’s time to start clicking pictures. Turn on your camera and then follow the instructions given below:
- Go to your camera settings and turn on the ‘grid and level’ function. This will help you position your product exactly at the center.
- Now do a single tap on the screen and bring the focus on the product. Then, lock the focus.
- Adjust the color balance by selecting the AWB (auto white balance) feature.
- Manually adjust the ISO and keep it below 800 or you can use any third-party applications that adjust it automatically.
- Now set the exposure to the desired area by simply dragging the exposure feature to the area you want to highlight and allow the camera app to adjust accordingly. Once you’re done, lock exposure.
- Turn on image stabilization
You are now all set to click as many product pictures as you want.
7. Take To Photo Editing
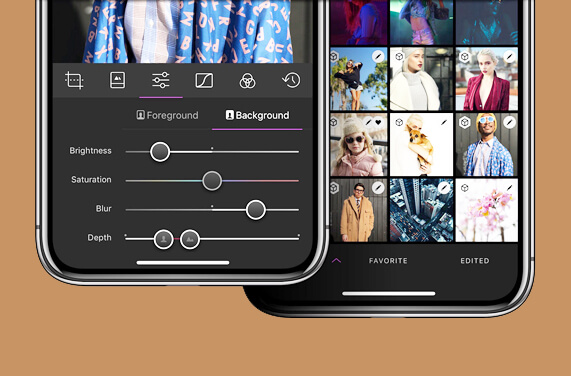
Once you are done with the shoot, it’s time for product photo editing. You can edit raw photographs using apps like Photoshop Express, Adobe Lightroom, VSCO, Photoshop Touch, etc. With a little tweaking, you can make the images stand out and look their best. You can begin with the basic changes with respect to image size, color, contrast, and sharpness. These small changes will bring a big difference in image quality. Don’t overdo editing, since it will dilute the real effect and make your product photoshopped.
Wrapping Up
Hope you’ve learned how to click incredible photographs using a smartphone. Now, you don’t have to stretch your budget for buying a high-end camera. All you have to do is grab your smartphone, create a setup, and voila, you are ready to capture the product photos. As a seller, if you run short of time and feel you may need an extra pair of hands to refine bulk product images, you may hire dedicated experts by dropping a line to info@team4ecom.com.

 +44 203 514 2601
 +1 585 283 0055